Congrats on your new MacBook! Setting up your first Mac or an upgraded one can be a fun yet somewhat intimidating task. This guide will walk you through the processes step by step so you are able to enjoy set up your new MacBook without any worries.
Step 1: Unboxing and Powering On
- Carefully unbox your Macbook and locate the power button found at the top right corner of the keyboard.
- Once you unbox your MacBook and power it on, you will see the Apple logo followed by the different device features loading.
Step 2: Set Language, Region Preferences and Wifi
- Select your preferred language and region.
- This ensures that your MacBook is able to display the right date along with the time, as well as the regional settings.
- Once you have selected your language and region, click Continue to proceed.
- A stable internet connection is important.
- While you are setting up, select from the list of available Wifi networks and connect after entering the password.
- After this stage is completed, you will have full access to all the features that come with macOS as well as the Apple ecosystem.
Step 3: Sign In with Your Apple ID
- Sign in with your existing Apple ID or create a new one.
- An Apple ID in general is important if you want to use the App Store, Find My Mac, and even iCloud.
- Benefits of an Apple ID:
- You are able to keep your data safe and secure by utilizing iCloud, among many other great features.
- Syncs purchases such as apps, music, and movies across devices.
- Facilitates effective functioning within the Apple ecosystem.
Step 4: Set Up Siri (Optional)
You may enable Siri if you want to control your MacBook through voice commands. Multitask using Siri by asking them to send messages, search for content, or do any other chores for you.
Select Enable Siri when asked, or you can also choose Not Now to skip this step.
Step 5: Customize Your System Settings
Adjust the configuration of your MacBook in a way that best suits you.
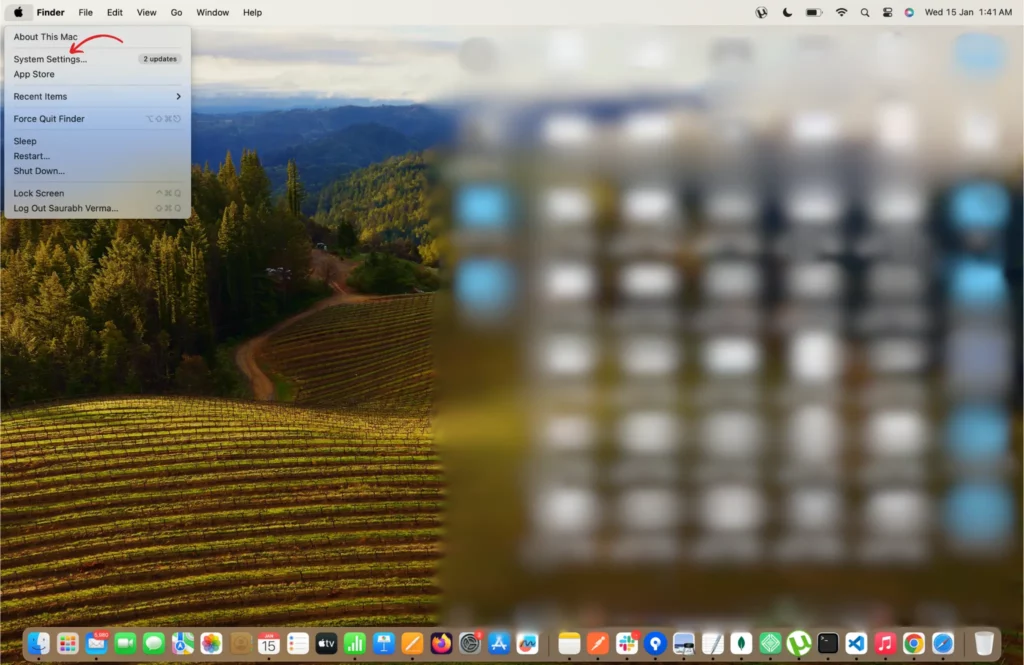
By pressing the top left apple logo, go to System Preferences (or System Settings).

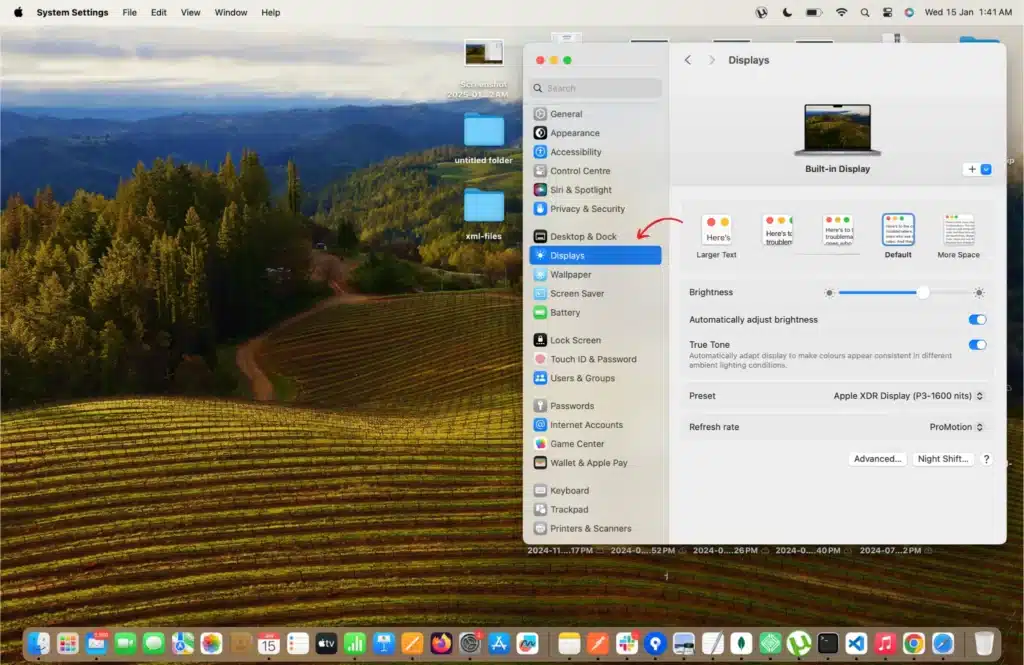
Display Settings: Brightness and resolution should be set in a way that is not uncomfortable but makes working more efficient.

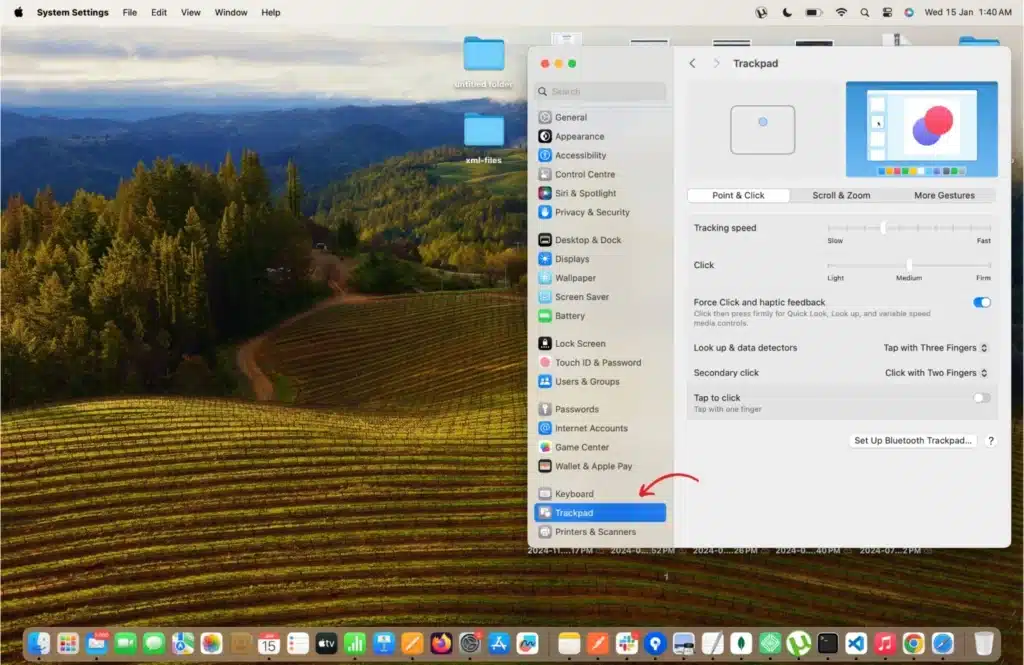
Trackpad Settings: Allow gestures such as Tap to Click and change the speed of tracking.

Dock Appearance: Set the position of the dock, size of the icons, and how much they will be magnified.
Step 6: Install macOS Updates
To stay and feel secure in your MacBook, you should install the latest software updates.
You can look for updates through System Preferences/System Settings > Software Update.
Step 7: Set Up iCloud Backup
Apple’s cloud storage service, known as iCloud, is perfect for backing up pictures, documents, and even app data.
- Go to System Preferences/System Settings > Apple ID > iCloud.
- Turn on iCloud Drive to ensure that files are synchronized across multiple devices.
Step 8: Download Application Via App Store
There is an assortment of apps available in Mac App Store for productivity tools, creativity and entertainment. Some of the most used are Microsoft Office, Google Chrome, Slack and Adobe Creative Cloud.
Step 9: Transfer Data from Old Device (Optional)
- From One Mac to Another:
- Use Apple Migration Assistant for transferring data, applications, and settings. A wired connection works faster, and make sure both Macs are on the same WiFi network.
- From A Windows Computer to Mac:
- Download the Windows Migration Assistant from Apple.com.
- You can move files, documents, and settings by following the steps given on the page.
Step:10 Final Setup: Backup, Security, and Features
Prepare Time Machine For Backup
Time Machine lets its users set automatic back up to an external drive at a particular time and day. Plug an external drive into the Macbook.
Go to System preferences/System Settings > Time Machine > Select Backup disk.
Learn About Features of macOS
- Mission Control: F3 or a swipe up using three fingers on the touchpad showcase all the opened tabs and virtual desktops.
- Spotlight: Allows users to search for files, applications, or do some math when Command + Spacebar is pressed.
- Safari: Smart tracking prevention is one of the many private features that Apple’s browser gives along with an impressive surfing speed.
Bonus Tips: Reinforce The Security of Your MacBook
- Enable FileVault: Principle your data encryption under System preferences/System Settings > Security & Privacy > FileVault.
- Set A Stronger Account Password: Alter account password in System Preferences/System Settings > Users & Groups.
- Activate Find My Mac: Do this in System Preferences/System Settings > Apple ID > iCloud to make it easier to find your device.
Configuring your newest MacBook is easy owing to these sequences. Once set up, you will be ready for the amazing features that macOS has to offer. Cherish your MacBook and do all the best with your new gadget!
If this guide proves helpful for you, please feel free to ask any questions.
Also Read: How to Clear Your Browsing History and Data on Safari for iPhone


