In today’s world, our smartphones often face storage challenges, with those annoying “Storage Almost Full” warnings. To tackle this, let’s explore how Google Photos can be the hero to declutter and create space on our devices. I have given below a simple guide to walk you through the process.
Step 1 : Install Google Photos
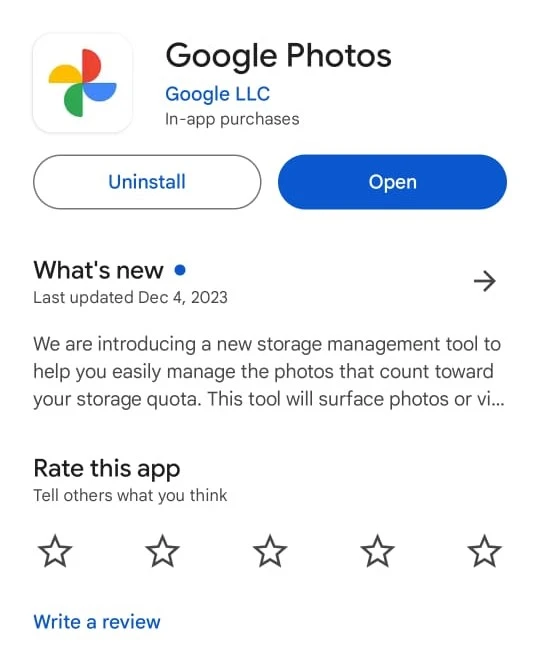
Let’s kick things off by grabbing Google Photos from our App Store (for iOS) or Google Play Store (for Android). Once it’s snuggled into your phone, pop the app open, and either log in with your trusty Google account or whip up a new one if you haven’t got it yet.

Step 2 : Enable Backup and Sync
In Google Photos
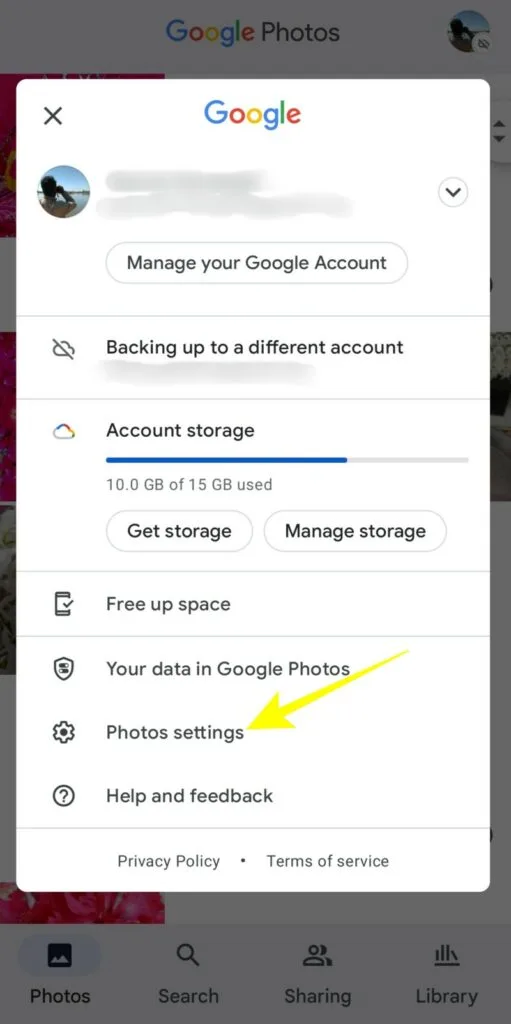
- Tap your profile picture.
- Go to “Photos settings” or “Settings.”
- Select “Backup & sync.”
- Toggle the switch on.
Connect to Wi-Fi to save mobile data during the backup process.

Step 3 : Choose Upload Quality
Keep it simple – choose “High quality” to save space without compromising too much on quality. If you’re lucky enough to own a Google Pixel, “High quality” uploads won’t take up your Google Drive storage.
Step 4 : Free Up Local Storage
In Google Photos:
- Tap “Library.”
- Select “Free up space.”
- Confirm to delete backed-up photos and videos.
- Watch as Google Photos works its magic, freeing up valuable local storage.
Step 5 : Use Storage Management Tools
Head to the “Storage” section:
Review and Delete Large Files spot and delete big files.
Clear Cache remove unnecessary cached files.
Manage Device Folders easily delete content from specific folders.
Step 6 : Periodically Clean Up
Keep it hassle-free by regularly reviewing and deleting unwanted photos and videos in Google Photos. This ensures our device stays clutter-free.
Conclusion
By following these straightforward steps, you’re on your way to optimizing your phone storage and bidding farewell to those pesky warnings. Google Photos simplifies the decluttering process, ensuring you always have space for those important moments. Enjoy the extra room on your smartphone!


