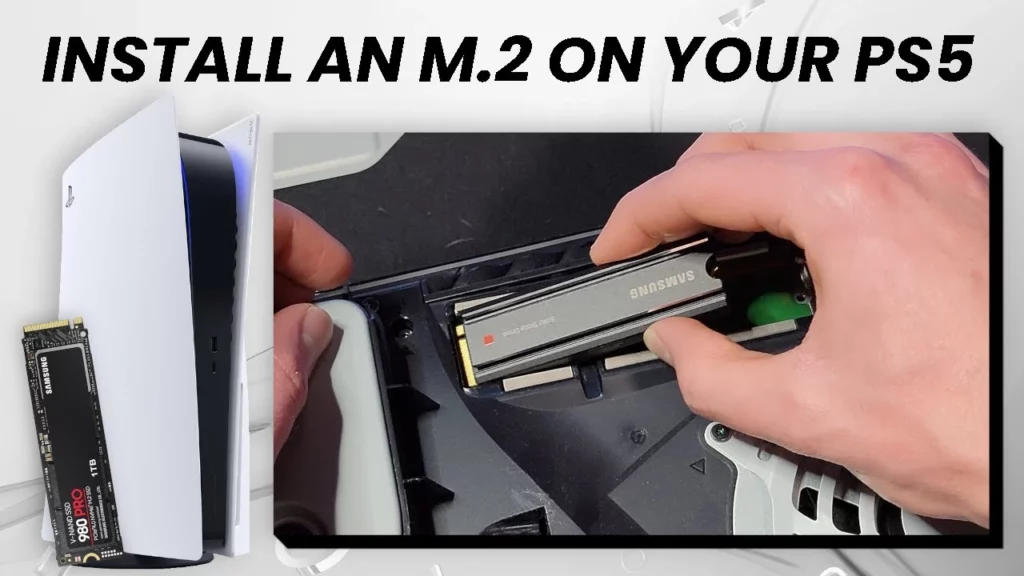
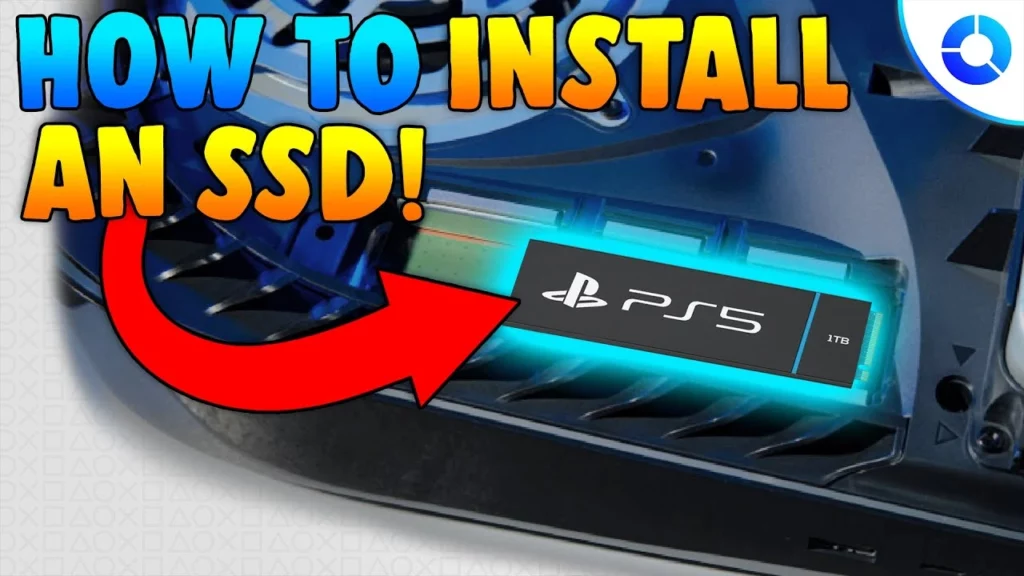
The PlayStation 5’s built in SSD is very fast, but it gets filled quickly so there is a requirement of an external SSD to be installed in it. So, in this article you will get to know in detail that how you can install an external SSD in your PlayStation 5 which will definitely increase your storage without causing any hindrance in speed.
So, the PlayStation 5’s SSD is so fast, as an SSD should be, but it is just 825 GB and only 667 GB of that space can be used to install games. That would get filled up quickly.
So, an impressive thing about it is that it allows you to install a specific storage to keep your system’s speed same as earlier and increasing your speed. For this, fortunately, the PS 5 has an expansion slot that accepts a M.2 NVMe SSD.

Now let’s see the steps below to do it.
Steps to install an SSD in your PlayStation 5
1. First, choose a PS 5- compatible M.2 NVMe SSD
You need an M.2 SSD to upgrade your PS 5’s storage, bit not just any SSD will do it. Sony lists a few specific requirements that need to be fulfilled. The requirements are mentioned below: –
- PCI-Express Gen4x4 supported M.2 NVMe SSD
- Socket 3 (Key M)
- Storage Size 250GB to 4TB
- Size 2230, 2242, 2260, 2280, or 22110
- Up to 25mm wide
- 30, 40, 60, 80, or 110mm long
- Less than 11.25mm thick (less than 8mm from above the board, less than 2.45mm from below the board)
- Sequential read speed 5,500Mbps or faster
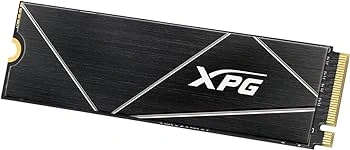
- The read speed is very important if you want a good performance in gaming. An appropriate speed is between 3,000 and 5,000Mbps. So, we chose an ADATA XPG Gammix S70 Blade.

2. Prepare your Gear
Before you install the SSD, you have to prepare your GEAR. Get the followings tools: –
- Philips head screwdriver
- Tweezers
That’s it. You don’t need any other things besides the above mentioned.
3. Put a Heatsink on the SSD
If you already have a hot idea on your SSD, skip to the next step. If not, get a suitable heatsink for your SSD size and install it using the driver and/or heatsink instructions. The instructions may vary slightly between models, but it should not involve some adhesive from the bottom thermal layer of the heatsink and carefully pressing the SSD.
4. Turn Off the PlayStation 5
This may seem obvious, but you have to shut down the system manually. Simply pressing the power button puts the PS5 into sleep mode, and removing the power cord from it will wake it up and the console will wake you up when you turn it back on. This is not a good situation for a new SSD.
Press the PlayStation button on the controller, then select the Power icon.
Select Power Off and wait until all lights on the console turn off.
Remove the system and move it to your workstation.
5. Position the PlayStation 5
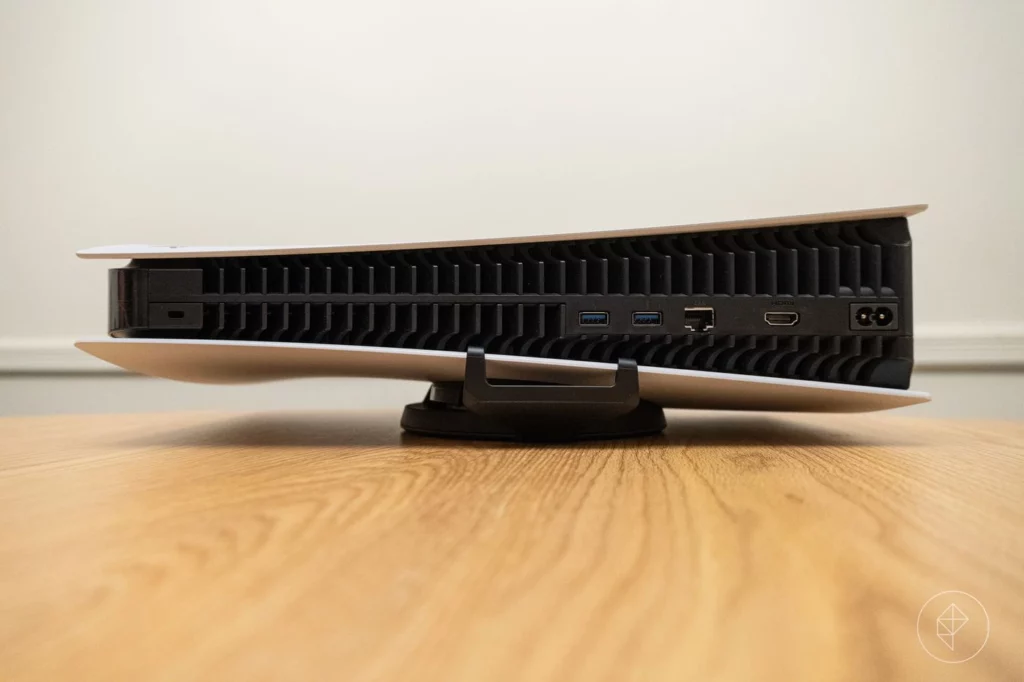
Lay the PS5 flat on your desktop, with the PlayStation logo facing down and the port facing you.6. Remove the Side Panel

6. Remove the Side Panel
This is one of the trickiest parts of the process because removing that big white panel is a little fiddly.
Firmly grip the upper left corner and the lower right corner.
Carefully pull out the lower right corner and push the panel to the left with your right hand.
At the same time, use your left thumb to support the top of the lever panel and the rest of your left hand to release the panel on the left. If you’ve found the right angle, the panel should slide to the left and come off with relatively little force. If the panel doesn’t move, try to find a different push angle.
The panel is secured by side hook pins that snap to the left, and no amount of upward force other than the small amount needed to pull the pins out of their slots will remove it (and you can break the pins trying). Use some wiggling experimentation until you find the right way to make the panel slide to the left.

7. Remove the Expansion Slot Cover
It’s simple. Remove the single screw that holds the rectangular cover on top of the open PS5 (ignore the other screws on the large cover on the left). Lift the expansion slot cover and set aside the screw.
8. Remove the M.2 Screw
Take out the small screw which is in there in the expansion slot’s far right hole. Only remove the screw and place it on that side. Please keep the ring-shaped spacer where it is until the next step.
9. Place the Spacer in the Correct Hole
This is where the tweezers come in. Move the spacer from the right-most hole in the expansion slot to the hole marked with the correct length of your SSD. You could do it with your fingers, but for how tiny it is this is probably easier to get it aligned. If your SSD is 110mm long, the spacer is already in the right place.
10. Secure the SSD
Install the M.2 screw into the right edge of the SSD and the spacer. When it’s completely screwed in, the drive should sit securely flat in the expansion slot.
11. Cover the Expansion Slot
Replace the expansion slot cover and screw it into place.
12. Replace the Side Panel
This is a little more difficult than removing the panel, but you can still try and experiment with the installed panel before installing it. Position the panel slightly to the left of where it should be on the PS5 and carefully push it to the right. If angled correctly, it should slide back smoothly into the locked position.
13. Format the PS5’s New SSD
The PS5 can now be connected back to your TV and turned on again, so do that. When it boots up, it should detect the SSD and ask if you want to format it. Choose yes (it will delete anything on the drive). After a few minutes, the drive will be formatted to work with your PS5, and you can set the system to install games directly to it by default. The system will also run a speed test on your drive, so you can double-check that it’s faster than the 5,500Mbps Sony recommends.
14. Start Playing!
The PS5 is now built with significantly increased storage, so if your drive meets all the requirements, it should be as fast as any internal SSD you have. Rejoice! Check out our list of the best PS5 games for some ideas on what to put on your new drive.
So, these all are the steps which you need to follow.


