While the macOS command line interface may seem intimidating initially, it provide a wide rang of functionality. Harnessing the power of the command line within Terminal empowers you to adeptly address a broad spectrum of tasks on your Mac. This capability proves especially invaluable to professionals in the field of software development, as it optimizes and simplifies numerous facets of their work.
Tools like Homebrew enhance the capabilities of the command line interface. In this guide, we’ll talk about how to install Homebrew on Mac. Also we will discuss uninstallation of Homebrew on your Mac.
What is Homebrew and how does it function?
Homebrew, often summed up as ‘Homebrew installs the stuff you need that Apple didn’t,’ is your go-to toolkit manager for macOS. It’s free, open-source, and super handy.
Imagine you want to add or update developer tools like Python, Ruby, or Node.js on your Mac. That’s where Homebrew comes to the rescue. It simplifies the installation and management of these tools, making your Mac even more powerful.
So, if you’re looking to expand your Mac’s capabilities, this guide will show you how Homebrew works and how to make the most of it.
Why is it Essential? Homebrew is your secret sauce for simplifying your Mac’s toolkit. With it, you can effortlessly access a treasure trove of command line tools, all neatly managed from a single location on your Mac. Here’s a taste of the valuable tools you can tap into through Homebrew:
- imagemick to convert images to other formats
- archey to share the localhost with your team
- hub for a better experience with Git
- tldr for practical examples on how to use the command line.
No need to dive into complex coding jargon. The key takeaway is that Homebrew is all about using simple Terminal commands. With just a few typed words, you can install, update, and remove packages. Homebrew provides basic commands for single-file tools and more advanced ones, called casks, for multi-directory utilities.
Requirements to install Homebrew on Mac
Before Getting Started, Ensure Your macOS Meets These Requirements:
- Apple Silicon or 64-bit CPU
- macOS 10.14 or later
- Bourne-compatible shell (bash or zsh syntax)
- Xcode’s command line tools (we explain how to install the tools in the following section).
How to install Homebrew on Mac
Getting to the Main Part – ‘Installing Homebrew on Mac’-In this guide, we’ll show you the simplest and recommended method to install Homebrew on your Mac using the curl command. It’s also easy to uninstall Homebrew using the same approach. If you have security concerns and prefer not to use curl, there are alternative manual download and execution methods available, but we won’t be covering those here.
Step 1: Installing Command Line Tools for Xcode
Xcode: Your Mac’s Native Integrated Development Environment.
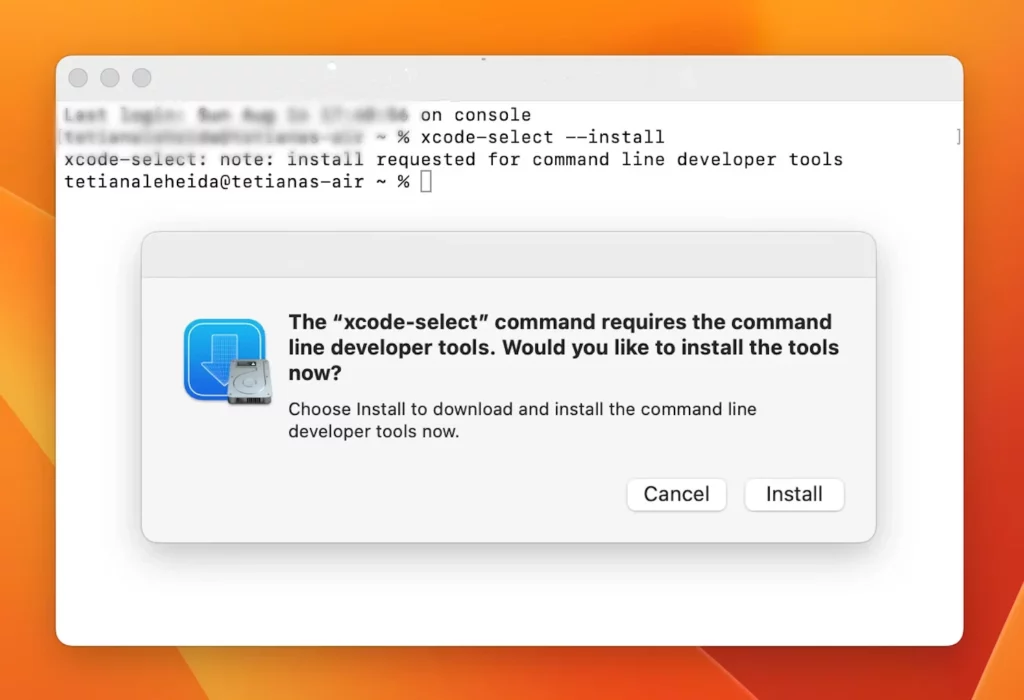
Xcode, Apple’s native integrated development environment, provides all the essential tools for software development on your Mac. Before you can install certain Homebrew package components, it’s necessary to install Xcode’s command line tools, in case you haven’t already done so.
Here’s how to install command line tools for Xcode:
- Open Terminal and type the following command:
xcode-select --install - In the new dialog window, confirm you want to install the Xcode tools
- Agree to a license agreement and wait for the installation process to complete. It might take a while.

Step 2: Install Homebrew on Mac
Now, Your Mac is Prepared for Homebrew. Let’s Dive into the Complete Installation Process:
- Open Terminal and type the following command:
/bin/bash -c "$(curl -fsSL https://raw.githubusercontent.com/Homebrew/install/HEAD/install.sh)" - Type your admin password (note that you won’t see your keystrokes in the Terminal window — it’s a security measure) > hit Return
- Wait a few minutes until you see the “Installation successful” message in Terminal.
Step 3: Turn off analytics
Although it’s not required, it’s important to be aware that Homebrew, as a free and open-source tool, may collect some data to share with developers. This data usually includes information like the Homebrew User Agent, Google Analytics version, Homebrew analytics tracking ID, Homebrew analytics user ID, and details regarding the status of Google Analytics anonymous IP settings.
If you’d rather keep your data private and not share it with Homebrew developers, you can accomplish this by using a simple command in your Terminal:
brew analytics off
Step 4: Set up Homebrew
Getting Started with Homebrew in Terminal:
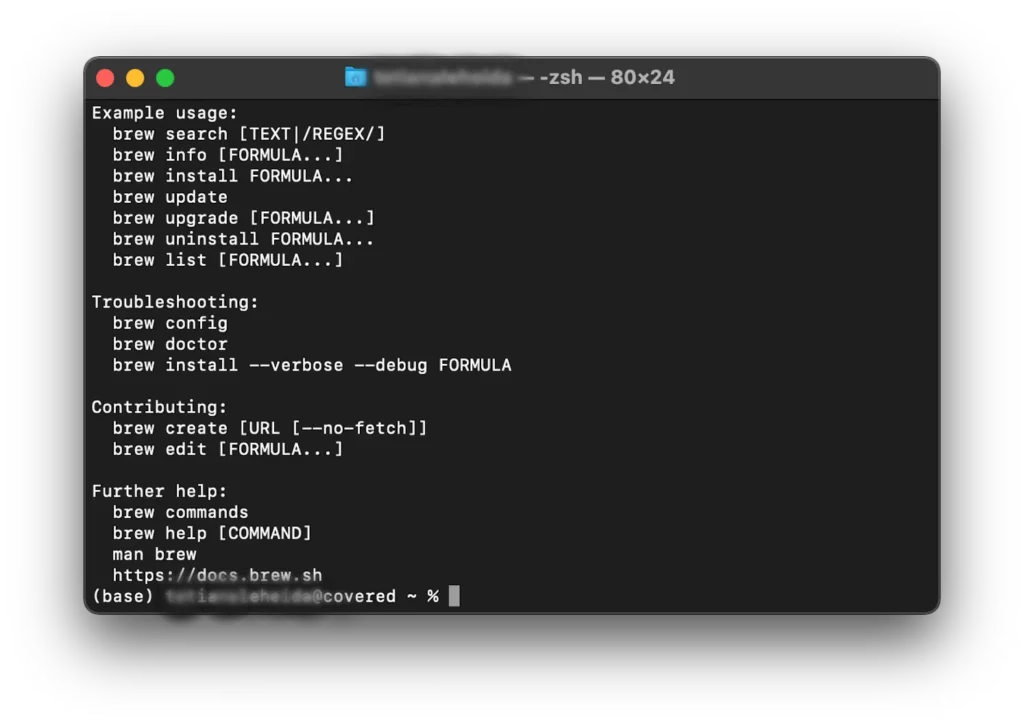
To begin your Homebrew journey, open Terminal and type brew help. You’ll discover a range of useful commands, such as how to install software, configure settings, and update packages using Homebrew. For example, to install a package, use the command brew install [package name]. Keep an eye out for helpful troubleshooting commands like ‘brew doctor’ to address any installation hiccups.

Step 5: Update Mac Homebrew
It’s important to keep everything you install with Homebrew up to date. Don’t forget to update the package manager itself from time to time to ensure it’s functioning smoothly and to access any new features.
- To update Homebrew, run
brew updatein Terminal - To find out what packages need updating, run
brew outdatedin Terminal - To update a specific package, run
brew update package namein Terminal.
If you’re new to Homebrew, follow Homebrew’s Community Discussion — you’ll find lots of insights and troubleshooting tips from other Mac users in there.
How to uninstall Homebrew from Mac
If you haven’t found Homebrew Mac tools valuable and want to uninstall the package manager, you can do so easily through Terminal.
Use the following command to uninstall Homebrew on macOS Big Sur, Mojave, Catalina, and later:
/bin/bash -c "$(curl -fsSL https://raw.githubusercontent.com/Homebrew/install/HEAD/uninstall.sh)"
Here’s the command you should run to uninstall Homebrew on macOS High Sierra, Sierra, El Capitan, and older:
Important Note for Homebrew Uninstallation: For detailed instructions or in case of any concerns about command accuracy, it’s advisable to refer to the Homebrew website.
How to uninstall Homebrew packages from Mac
If you prefer to retain the package manager itself and only remove specific packages, you can easily achieve that. Here’s how:
- Ensure there are no dependencies between the package you intend to delete and the ones currently in use by executing the following command:
brew deps [package name] - If you encounter dependencies but choose to disregard them, you can proceed by entering the following command:
brew uninstall --ignore-dependencies [package name] - To uninstall the package, run the command
brew uninstall package name.
ruby -e "$(curl -fsSL https://raw.githubusercontent.com/Homebrew/install/master/uninstall)"
You’ll receive a warning regarding the removal of Homebrew files from your Mac.
FAQ
How to install Homebrew on Mac M1?
If you’re curious about whether the guidelines in this article are suitable for installing Homebrew on an Apple Silicon Mac, rest assured that they are. The only distinction with M1 Macs is that you’ll need to update the shell configuration after Homebrew installation.
Where does Homebrew install on Mac?
On Intel Macs, Homebrew automatically installs in the /usr/local/bin directory without the need for any additional setup. On Apple Silicon Macs, Homebrew is installed in the /opt/homebrew folder, which isn’t part of the default $PATH. To address this, you’ll need to create a ~/.zprofile file containing a command to set up Homebrew. For comprehensive instructions, you can refer to Homebrew’s official website documentation.
Also Read: Unveiling the Pioneers: Top 10 Programming Languages for the Future


